


接前一篇文章: QEMU源码全解析 —— 内存虚拟化(7)
本文内容参考:
《 QEMU /KVM源码解析与应用》 —— 李强,机械工业出版社
浅谈QEMU Memory Region 与 Address Space
特此致谢!
2. QEMU虚拟机内存初始化
内存作为虚拟机的基础部分,其初始化除了在pc_init1函数中进行部分工作外,在cpu_exec_init_all函数中也进行了一部分初始化工作。再来回顾一下,cpu_exec_init_all函数在softmmu/physmem.c中,代码如下:
void cpu_exec_init_all(void)
{
    qemu_mutex_init(&ram_list.mutex);
    /* The data structures we set up here depend on knowing the page size,
     * so no more changes can be made after this point.
     * In an ideal world, nothing we did before we had finished the
     * machine setup would care about the target page size, and we could
     * do this much later, rather than requiring board models to state
     * up front what their requirements are.
     */
    finalize_target_page_bits();
    io_mem_init();
    memory_map_init();
    qemu_mutex_init(&map_client_list_lock);
}
cpu_exec_init_all函数中有两个函数的调用与内存相关:io_mem_init()和memory_map_init()。
上一回讲到了cpu_exec_init_all()中的memory_map_init(),再来回顾一下。memory_map_init函数在softmmu/physmem.c中,代码如下:
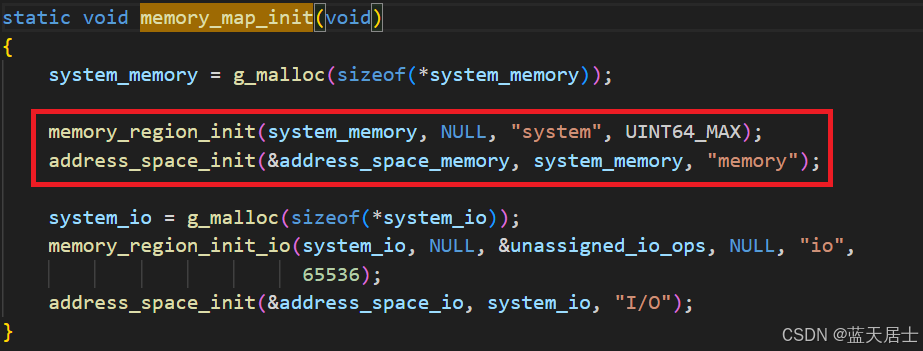
static void memory_map_init(void)
{
    system_memory = g_malloc(sizeof(*system_memory));

    memory_region_init(system_memory, NULL, "system", UINT64_MAX);
    address_space_init(&address_space_memory, system_memory, "memory");

    system_io = g_malloc(sizeof(*system_io));
    memory_region_init_io(system_io, NULL, &unassigned_io_ops, NULL, "io",
                          65536);
    address_space_init(&address_space_io, system_io, "I/O");
}
前文书已经讲过,在memory_map_init函数中,对于系统内存区域system_memory和用于I/O的内存区域system_io,都进行了初始化,并且关联到了相应的地址空间AddressSpace。在memory_map_init函数中会创建两个AddressSpace:address_space_memory和address_space_io,分别用来表示虚拟机的内存地址空间和I/O地址空间,其对应根MemoryRegion分别是system_memory和system_io。
上一回我们看了memory_region_init函数的代码即内存区域初始化的代码,本回来看address_space_init函数的代码即地址空间初始化及内存区域关联的代码。
address_space_init函数在softmmu/memory.c中,代码如下:
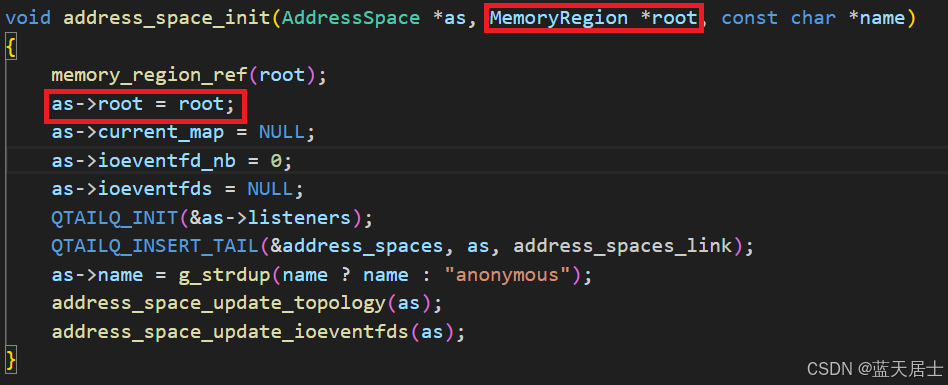
void address_space_init(AddressSpace *as, MemoryRegion *root, const char *name)
{
    memory_region_ref(root);
    as->root = root;
    as->current_map = NULL;
    as->ioeventfd_nb = 0;
    as->ioeventfds = NULL;
    QTAILQ_INIT(&as->listeners);
    QTAILQ_INSERT_TAIL(&address_spaces, as, address_spaces_link);
    as->name = g_strdup(name ? name : "anonymous");
    address_space_update_topology(as);
    address_space_update_ioeventfds(as);
}
对于系统内存地址空间address_space_memory,需要将其内存区域的根root设置为system_memory。
设置好系统内存区域的根之后,还要调用address_space_update_topology函数更新内存拓扑。address_space_update_topology函数在softmmu/memory.c中,代码如下:
static void address_space_update_topology(AddressSpace *as)
{
    MemoryRegion *physmr = memory_region_get_flatview_root(as->root);

    flatviews_init();
    if (!g_hash_table_lookup(flat_views, physmr)) {
        generate_memory_topology(physmr);
    }
    address_space_set_flatview(as);
}
address_space_update_topology函数中会生成AddressSpace的flatview。由于这里内存处于初始化的阶段,属于首次建立,因此会执行到generate_memory_topology函数,第一次生成flat_views。
这个flatview(代码中的flat_views)结构代表的是地址空间(AddressSpace)中与树形结构(MemoryRegion)并列的“平面”结构。为什么要弄两个结构表示同一事物?因为树形内存结构更便于管理;而平的内存结构则更方便与内核通信,以请求物理内存。虽然操作系统内核中也是使用树形结构来表示内存区域的,但是用户态向内核申请内存的时候,会按照平的、连续的模式进行申请。由于QEMU在用户态,因此需要做这样一个转换。
接下来看一下address_space_set_flatview函数,其也在softmmu/memory.c中,代码如下:
static void address_space_set_flatview(AddressSpace *as)
{
    FlatView *old_view = address_space_to_flatview(as);
    MemoryRegion *physmr = memory_region_get_flatview_root(as->root);
    FlatView *new_view = g_hash_table_lookup(flat_views, physmr);

    assert(new_view);

    if (old_view == new_view) {
        return;
    }

    if (old_view) {
        flatview_ref(old_view);
    }

    flatview_ref(new_view);

    if (!QTAILQ_EMPTY(&as->listeners)) {
        FlatView tmpview = { .nr = 0 }, *old_view2 = old_view;

        if (!old_view2) {
            old_view2 = &tmpview;
        }
        address_space_update_topology_pass(as, old_view2, new_view, false);
        address_space_update_topology_pass(as, old_view2, new_view, true);
    }

    /* Writes are protected by the BQL.  */
    qatomic_rcu_set(&as->current_map, new_view);
    if (old_view) {
        flatview_unref(old_view);
    }

    /* Note that all the old MemoryRegions are still alive up to this
     * point.  This relieves most MemoryListeners from the need to
     * ref/unref the MemoryRegions they get---unless they use them
     * outside the iothread mutex, in which case precise reference
     * counting is necessary.
     */
    if (old_view) {
        flatview_unref(old_view);
    }
}
对于address_space_set_flatview函数的解析,请看下回。

